Sunday, November 1, 2015

TUTORIAL OF MAKING THREAD EARRINGS + 2nd BLOG ANNIVERSARY

Hello Friends, Exactly on the same date TWO years back , I started this blog. Its been an amazing two year journey in which I have learnt a lot from my fellow crafter's and the challenges I participated. I thank all my blogger friends and readers for their support and encouragement given to my blog. Keep visiting my blog and do provide your comments/ feedback. 


Now moving onto today's post. Today I am sharing with you all the tutorial of making Peruvian thread earrings. I have made a post on these earrings last year ( see that post here).That was my first attempt and I was not satisfied with the result. I found the making of the coil to be extremely difficult as the wire which I had was little thick so I didn't continue making them. Last month when I had been for shopping I accidentally bought a thin floral wire instead of a thick one for flower making. Since the golden floral wire I bought was easily pliable and flexible I decided to try making thread earrings. 


I followed the tutorial of Ikologee but modified it a little according to the supplies I had.

Materials Needed :

1. Thick floral wire ( 22 gauge)
2. Thin floral wire ( 26 gauge )
3. Embroidery or silk thread
4. Cutter and plier
5. white glue


Silver wire - Thick gauge wire
Golden wire - Thin wire used for making coil

Procedure: VERSION 1: Making coil


Cut two thick wires of equal length. Take the thinner wire and start winding it around the thick wire.
The windings must be equidistant and close to each other. This is the most crucial step. If you didn't get it properly the first time try it as many times till you get a neat coil.


Wrap it around a circular object to remove any bend in the coil. Then join both the ends of the coil together and twist the wire tightly to form a tear drop shape. Take a single stand of embroidery thread and make a knot at the twisted portion. Start reeling the thread starting from the center of the tear drop. 


Continue to reel up the thread in the direction shown till it passes through every winding of the coil. Once finished make a knot at the top and trim the excess thread.


Similarly take a different color thread and start reeling it from the right side.


Make a small coil using the backside of a paint brush. Apply glue at the twisted ends and knots and slide the coil as shown. Make a loop at the top with the thick wire.


VERSION 2: Using small beads

Those who do not want to wind coils but still wanted to make thread earrings can use small beads and gear locks instead of thin wire.


Cut a piece of thick wire and add a gear lock at its one end. Add the beads one by one and add another gear lock at the other end.  Twist the ends of the wire together.


Start reeling the thread in between the beads and finally glue a small coil at the top.


Notes:

1. In the first step while cutting thick wires make sure they are of equal lengths. Leave some space about 2 cm long and then start winding the thin wire. Similarly leave some space after winding the coil maybe 5 cm. The length of the winding in both the wires should be the same to get two similar shaped earrings.
2. It is better to wear rubber gloves while winding the coil as the sharp ends of the floral wire might hurt your fingers.
3. While trimming the excess wire be very careful to avoid sharp ends. 
4. Start reeling the thread exactly from the center point of the earring then only all the winding will be covered. If you start from some other point you will be passing some winding without reeling.  


Hope you all liked my tutorial. Keep vising my blog... Happy crafting...

Tuesday, October 27, 2015

NAVARATHRI KOLU USING HANDMADE DOLLS

Hello friends , its been quite a long time since I posted . I was little busy keeping Navarathri kolu and inviting friends to my home. Right from my childhood I loved arranging the dolls, decorating the house , inviting guests and singing songs for Navarathri. Its indeed my most favorite festival. When I came to US after marriage I didn't want to break our family tradition of keeping kolu. So made a few quilled dolls and arranged it as Kolu. Two years have passed and now I have enough handmade dolls( thanks to the craft challenges) to fill three big steps. So this year we decided to invite non-Indian ( foreigners) friends to join us in our celebration. Below is the e-invite which I created for inviting the guests.


My regular readers would be familiar with  the dolls kept in the Kolu as they are all posted in my blog previously.


In South India the kolu has evolved itself and people celebrate it by arranging the dolls based on a specific theme. Well what is the theme of this Kolu?? Maybe we can say Altered art / recycle craft as most of the projects you see here are recycled. 
Now let us take a closer look at the individual steps. 

MAKING OF KOLU PADI:

      I used one medium sized box measuring 18" (height ) * 18 (breadth) * 16 (length)  and one large sized moving box measuring 18" (h) *18 (b) * 24 (l). I wanted the steps height to be at a difference of 6". The bottom step measures 6" , the middle measures 12" and the top most step measures 18" in height. 
Since the height of the medium box is 18" I cut it into two  pieces - One with 6" (h)*18(b)*16(l) forming the bottom most step and the other with 12"(h)*18(b)*16(l) forming the middle step
I kept the large box as such but trimmed the edges to get the length of 16". 

FIRST STEP ( TOP MOST STEP):


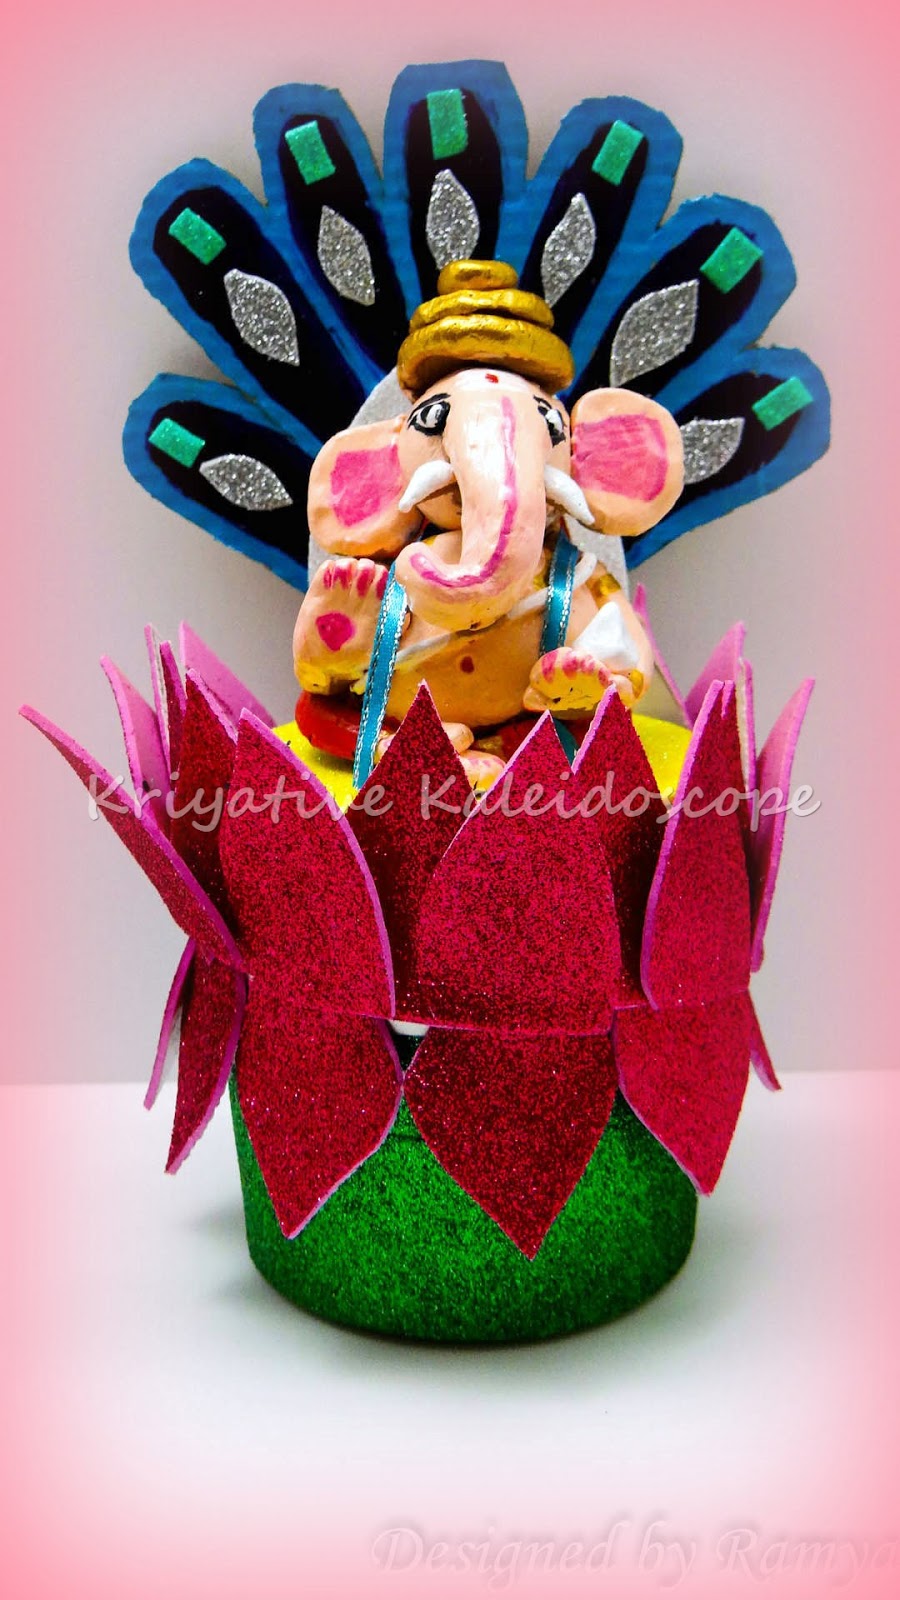
In the first step I have kept Mandap , clay Ganesha with lotus asana, Altered jar and paper roses.

1. Mandap:

   My father and me made this mandap last year. For the base we used old laptop box . The pillars are made by stacking  empty tissue paper rolls. The roof is made using packaging cardboards. The mandap is covered with golden and red color paper and decorated with golden glitter lace and small bells. Inside the Mandap Ihave kept the idols of God.

Things Altered: Empty Laptop box,Tissue paper rolls & packaging cardboard 

At the top of the Mandap you can see the Ganapathy with instruments mural work.
Tutorial for Ganesha with Instruments


2. Clay Ganesha with lotus Asana:

At the center below the Mandap is the clay Ganesha in lotus Asana.. Click the link below for the tutorial. You can use this Asana to keep the idols of Lord Durga or Lakshmi.

Material Altered: Candle jar , cardboard sheet for the backdrop
Tutorial of Lord Ganesha with Lotus asana

3. Fall themed altered jar:

You can alter an empty jar to demonstrate a theme. Here I have demonstrated a fall theme by decorating empty ghee jar.

Things Altered: Ghee bottle
Tutorial of Altered Jar 
4. Paper rose bouquet:

Materials Altered: Ghee jar , paper
Tutorial of paper rose bouquet


5. Clay teddy bear:
On both sides of the Clay ganesha I have placed two cute teddy bears made using playdoh.

MIDDLE STEP:


6. Violin Shaped card:

Materials Altered: Packaging Cardboard
Violin shaped card tutorial

7. Spring Garden:

Instead of a normal garden create this Spring garden using books, bird nest and lamp.
Things Altered: Soap cartons, empty ribbon roll, Packaging cardboard
Tutorial of Spring garden

8. Bird house:

Things Altered: Empty tissue rolls , Cardboard
Tutorial of DIY bird house


9. Girl playing piano:

This piano card is not an altered project. It is created using black cardstock.
Tutorial of Grand Piano 


10. Tulip Garden:

Made this tulip garden with playdoh, tooth pick and Styrofoam sheet .


11. Bicycle carrying flowers:

Things Altered: Tissue paper rolls , Tissue paper
Bicycle carrying flowers Tutorial


BOTTOM STEP:


In this step I have displayed some of my mural and mixed media works .

12. Beach Mural:

Have lot of sea shells collected at the beach?? Create a beach layout and stick the sea shells to it.

Things Altered: Altered card board sheets
Beach Days

13. Kalash clay mural:

Things Altered: Card board
Tutorial of Kalash clay mural

14. Beach Days:

Things Altered : Plastic plate
Beach Mural tutorial


15. Thulasi Maadam:

Things Altered: Perfume Carton
Thulasi Maadam tutorial


16. Christmas sleigh:

Things Altered: Cereal box , soap carton
Christmas Sleigh Tutorial


17. Chettiar dolls:

I made these dolls last year for Navarathri using terracotta clay.
Chettiar dolls

18.Fruit tray:

Things Altered: Peeled garlic tray
The fruits are made using air dry clay.


19. Cake factory:

These cakes are made using playdoh and cold porcelain.


20. Natural cooking set:

I made this natural cooking set using playdoh.


Usually in India all my relatives and neighbors celebrate Navarathri by keeping Kolu. So there is nothing new to explain them. This year kolu was very special to me as I was very happy to explain about our festivals and traditions to foreigners. They were very eager to know everything about Navarathri and greatly appreciated our rich Heritage. So this is my most memorable Navarathri kolu. 

Friday, October 9, 2015

FABRIC PAINTING ON T SHIRT

Hello friends, Welcome to my blog!! Today am posting something that I wanted to share with you all for a long time - fabric painting on a T shirt.  This is the first time am into fabric painting. I bought a plain T shirt from Michaels last year and totally forgot about it. Three months back when I was cleaning my wardrobe found it and finally decided to paint it .


I love warli printed dresses so decided to do warli painting on this T shirt.


Initially I washed the cotton T shirt and ironed it .  Then measured the center of the shirt using an inch tape. I drew the circle using a compass and fabric markers. I fitted the area to be painted inside a frame and started to paint.
I have used Tulip soft Fabric paint and 00 brush. All the designs are hand-drawn. I didnt use any stencil. 


In a similar way I made the neck design too.


I thought of using this T shirt for my vacation but after finishing I loved it so much that I wanted to wear it on my birthday. I also made a matching pair of  quilled jhumka.


Fabric painting is a relaxing hobby and it gives happiness to wear hand painted dress. So if you are new to fabric painting I hope these tips will useful to you.

1. Use fabrics that are 100% cotton and tightly oven. In michaels you get T shirts specially designed for fabric painting.
2. Pre - wash your fabric to remove the starch.
3. Iron the fabric and spread it on a large table.
4. Have the design ready on a paper before proceeding to draw on a fabric.
5. Depending on the type of finish you want you can select the type of Fabric paint. There are puffy, matte and soft finish available. I have used soft fabric paint in this project.
6. Instead of stretching the fabric by clipping it on a cardboard I prefer attaching the area to be painted on a embroidery frame as they hold and stretch it tightly enabling us to work conveniently.
7.Mark the center of the fabric before drawing .
8.Use fabric pencils instead of normal pencils so that the marking can be easily erased .
9. Do not use water except for wetting the brush.
10.Reverse iron the fabric after allowing it to dry for 48 hours.

Happy Painting!!


Sunday, September 27, 2015

ICRD AUDITIONS 2015

Hello Friends, Indian Craft room is back again and is looking for new designers. Am happy to participate in their auditions.


For details on the Audition, rush to ICRDESIGNER AUDITIONS  in the ICR CHALLENGES GROUP !!!

The last date to submit is sep 30th 2015. 
I have submitted my following creations to the audition:


SPARKLE AND SMILE CAS CARD

Hello friends, hope you all are enjoying your weekend.. Today I have a CAS card to share with you all. This week in casology challenge,  the theme is "Circles" . There are endless possibilities to this theme but the first thing that struck my mind is the " Smiley". Smileys are used to express that little extra feeling during a conversation. They are a great source of fun as they can easily add a laugh and color to the otherwise bland chats.  So I made a smiley card using glitter foam sheets. 


The background strips and smileys are hand-cut and the sentiment is hand written. To bring more shine to the card added rhinestones.


Entering this card to the following challenges:

1 .Casology challenge blog - cue word " Circles"
2. Shopping our stash challenge blog - " Show us your smile"
3.4 crafty chicks challenge blog - " Sparkle and shine"
4. Lulupu challenge blog - " Sparkle and shine"
5.Beyond grey challenge - " Cas cards or layouts"