Showing posts with label earring making. Show all posts

Thursday, July 24, 2014

URAD DAL BEADS EARRINGS

Hi all , Welcome back!! After seeing many beaded earrings on pinterest I too wanted to make one. Since i dont have much beads with me I thought of using something alternative that will give the same look as coloured beads. While i was cooking,  the idea of using Urad dal instead of beads striked me . So made these earrings using cardboard as the base , urad dal beads and acrylic paints. 
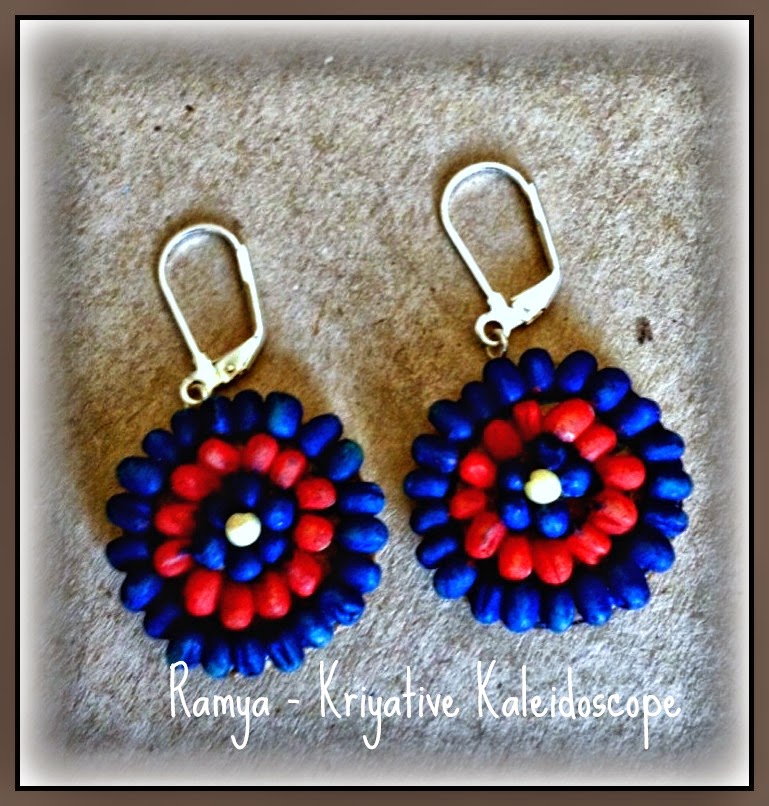


Initially I started off by taking a think Cardboard sheet and cut it to the desired shape of the earring. Then I applied glue all over the cardboard and placed the ural dal layer by layer ( outer layer first then inner layer). Finally I painted using acrylics and applied a coat of varnish.

The colours of the above earring are inspired from earrings everyday inspiration picture.


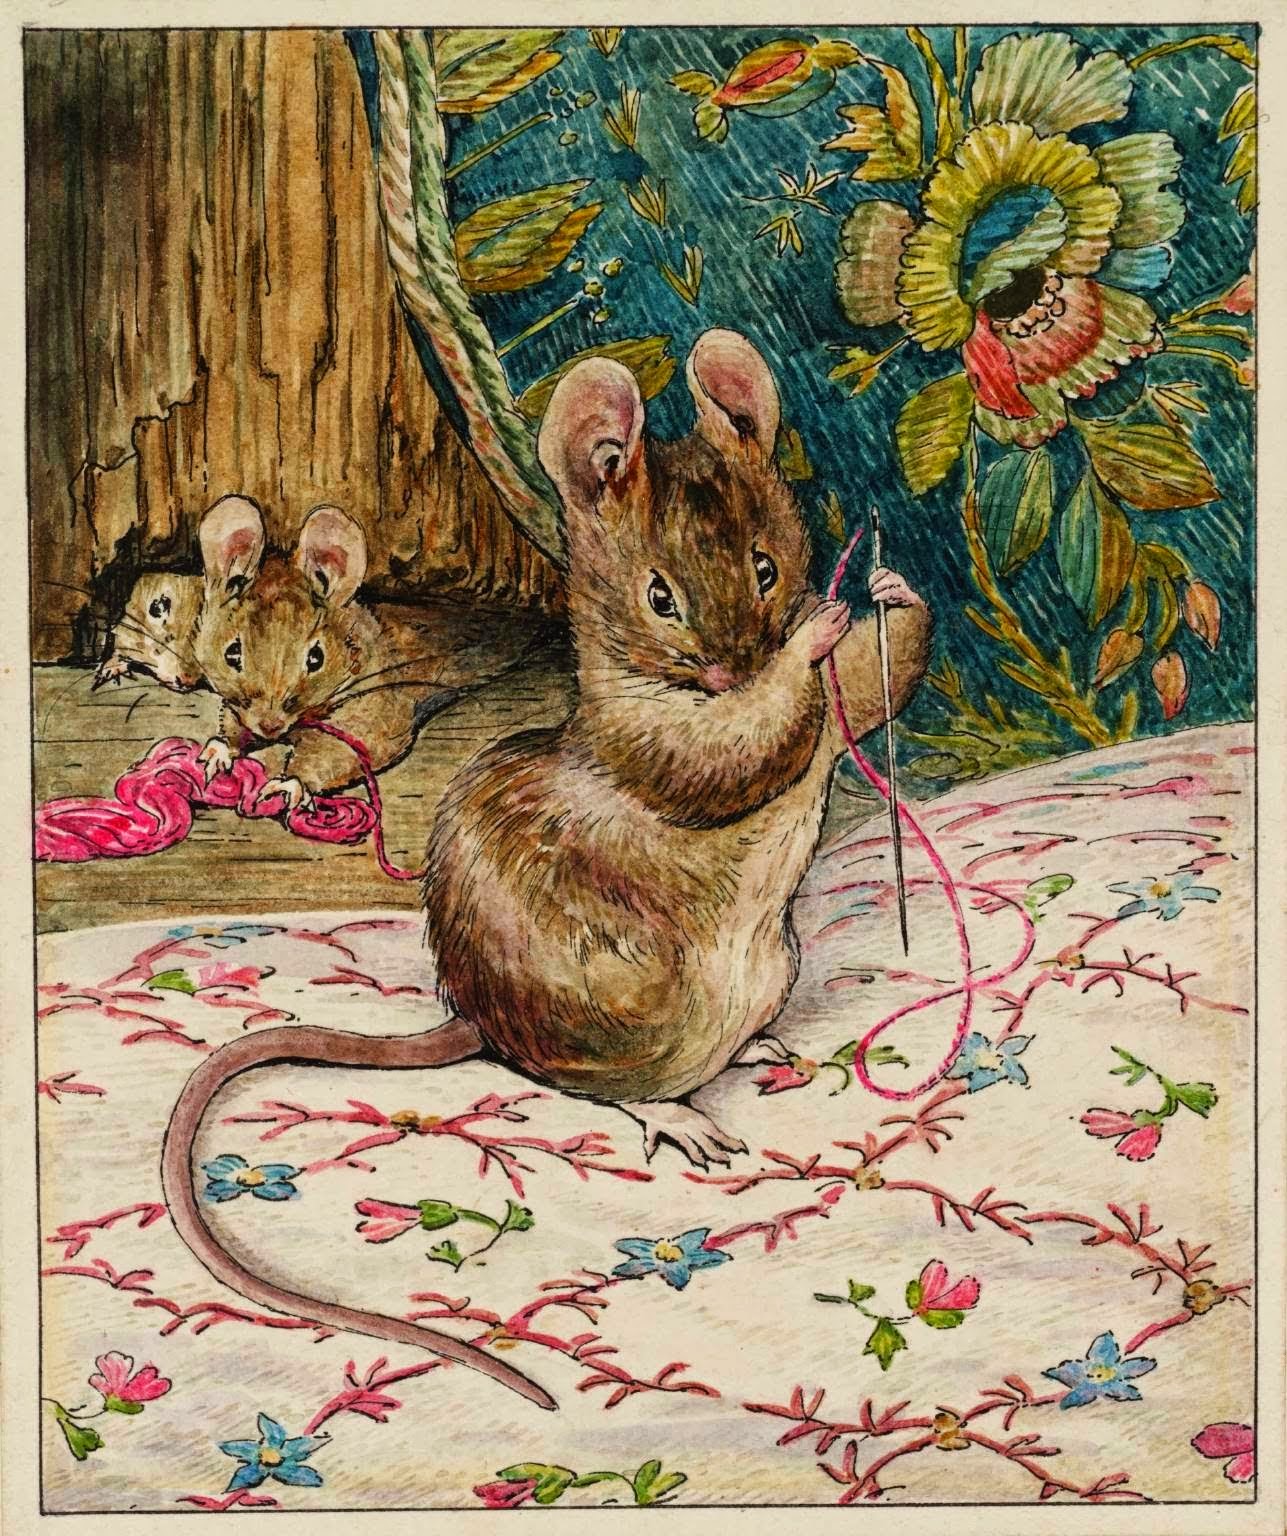
This is the inspiration Picture and i was inspired by the colours of this picture.

Submitting to
Earrings everyday


Thursday, April 24, 2014

RECYCLED BOTTLE CAP EARRINGS

Hello Friends , Today am posting an earring made by recycling plastic bottle caps. The colours are inspired from everyday earrings april reveal picture.


Take two identical bottle caps and make hole at the top using needle ( or safety pin). Insert an eye pin through the hole. 


Then colour the bottle caps using acrylics. The fine designs are made using liner brush. 


Earrings everyday april inspiration picture:


I have used the colours brown , lemon yellow , green and white from the picture.

Hope you all like my creation!! Happy Crafting!!

Submitting to
Everyday Earrings


Friday, March 21, 2014

PERUVIAN THREAD EARRINGS

Hello friends, Hope you all are doing great!! Today am posting a pair of earrings made for earrings everyday challenge. 


These are the string art earrings from Peru. This style string earrings originated in the 1960s in Peru and today these styles are famous with celebrities. Though these earrings seems to be complicated , with practice one can make creative and many types of earrings.  


For making these earrings we need a thick gauge wire for the outer loop and a thin floral wire to make the coil. Generally coiling Gizmos are used to make coils. We can also make homemade coiling gizmo. I made my own coiling gizmo using a thick camp ( Kambi). 
For the tutorial of making your own coiling gizmo check out this video   

Single strand of embroidery thread is used for winding . To learn about the earring making check out videos by artist ikologee - Peruvian thread earring tutorial

Everyday earrings inspiration picture


After seeing the picture I wanted to create an earring involving thread work. I always love the peacock feather colours. As these colours are present on the pic ( behind the mouse) I used dark blue, yellow and peacock green woolen threads. Initially I could'nt get the coils properly. The look of the earring depends on the how closely the coil is wounded. I found the winding of coils to be the difficult part. After few trials got this result. Have to practice more to create more perfect and beautiful earrings. 


Your Suggestions and feedback are welcome!! Have a crafty weekend!! 

Submitting to 

Friday, February 28, 2014

CLAY CHANDBALI EARRINGS

Hello friends , Welcome back!! Today am posting the tutorial of making clay earrings. Clay earrings are  favourite  and popular particularly among the teens of India. I always wondered how these earrings could be made in many wonderful designs until i saw a tutorial recently on clay jewellery making in the last month's issue of Aval vikatan. So got excited and tried my first ever clay jewellery. 


I used air- dry clay for my project. Here's the picture colage on the making of the earring.


First knead the clay and form two similar  round shapes.Then flatten them using a rolling pen ( i used a pen for this). Take the lid or cap of some bottle that has a circular base ( i used the glue bottle cap) and press it on the clay. You will get a rounded shape. Now use the same circular base and press once again to get the half moon shape and a tear drop shape. Attach eye pins and pearls .


After its dried draw the design of your choice. For making the design generally carving tools are used but here i used microtip pencils and black ball point pen. The colours of these earrings are inspired from the picture given in everyday earrings challenge. 


Picture inspiration for everyday earrings
I used sky blue, dark blue, green, orange, white and silver(hooks) from the picture.


Have a crafty weekend!!

Submitting to

Everyday earrings 


Thursday, January 9, 2014

BEADED HOOP EARRINGS

Hi all, today am posting a tutorial on making beaded hoop earrings.


MATERIALS NEEDED:


Floral wire or gauge wire , Circular object to wind the wire , Cutter and plier and beads


PROCEDURE:


For smaller hoops cut less than 6 inches of wire


First add the beads then bend the wire in the corner , else it would be difficult to add beads. I made this earring by using pearls and golden balls. I added a quilled jhumka in the center.


For this earring i used red and golden beads alternatively .


The colour of the beads can be customized matching our dress. Enjoy doing this simple and beautiful earrings.

Happy Crafting!!!

submitting to
Itsy -Bitsy make it festive challenge


Monday, December 9, 2013

FASHIONABLE QUILLED CHANDBALI EARRINGS

Hi all , Welcome back. Today am posting the tutorial of making a quilled chandbali  earrings decorated with urad dal beads. Chandbali earrings are very beautiful , heavy weight , traditional earrings in the shape of chand ( moon). They are suitable for all festive occasions and goes well with saree. Here i have made a simple chandbali design earring using paper. This earring can be worn with salwars and kurta.


MATERIALS NEEDED:
  1. Quilling strips of colour - light pink , dark pink , green , red , white and cream
  2. Quilling tool
  3. White urad dal ( Beads , stones, pearls can be used)
  4. Earring hooks and rings
  5. Scissors and glue
  6. Acrylic paints
PROCEDURE:

Step 1 : To make a hoop.
Take a cream colour strip , cut into half and wind it around a circular object to get a hoop.
I used the glue bottle cap .


Step 2: Take the light and dark  pink strips and cut into 5 equal parts. Join a light pink and dark pink strip and quill into a tight coil.


Arrange these coils inside the hoop and glue them.

Step 3 : Take a green strip and do beehive quilling. Click here to learn Beehive quilling


Step 4: Cut the white strip into half and fold it four times and glue them. Bend the strip to get a half- moon shape. 


Step 5: Stick the green colour beehive strips to the bottom of the hoop. Below this paste the white strip.
Step 6: Take red and white small strips and quill into tight coils. Stick these below the white strips.


Step 7: Instead of beads i used white urad dal for decoration. Wash the urad dal , dry it and then paint them using acrylics. 

Generally Chandbali earrings cost 500 INR. Here we made an inexpensive, light weight, fashionable chandbali earrings with paper and urad dal. 

Since the colours used in this earrings are christmas colours ( red, green, white and pink) , these earrings are a perfect christmas gift. Linking this post to totally papercrafts challenges and unstampabelles challenge

ITSY-BITSY PICTURE INSPIRATION JEWELRY

The challenge was to create a project inspired by the picture given below. 


I used the colours red, light pink, dark pink , green and golden in the picture to create my project  " Fashionable quilled chandbali earrings." Linking it to Itsy-Bitsy challenge


Saturday, November 30, 2013

WOOLEN THREAD EARRINGS

Hi all, today  we are going to see the tutorial of making woolen thread earrings. These earrings are done by winding woolen thread around a piece of cardboard. The initial few steps are similar to the cardboard earrings which we have done earlier. To refer to the tutorial of cardboard earrings click here


I have attached a quilling jhumka in the hole . You can decorate it by attaching pearls, kundan stones etc.