Wednesday, November 6, 2013

STONE PAINTING

hello everyone Three months back when i had been to goldbluffs beach in redwood i found these smooth oval shaped stones. I collected a few of them and painted  upon it. So now whenever i go to a beach or river i do this interesting work of collecting the perfect rounded stone for  doing stone painting .

MATERIALS NEEDED :

  1. Smooth stones 
  2. acrylic or oil paints ( bright colours)
  3. varnish or gloss 
PROCEDURE :

Wash the stones so that the paint will adhere better. Then apply a base coat ( any colour of your choice) . Once it gets dried apply the second coat. Now start drawing the actual picture using thin brush.  After the painting dries apply a coat of gloss to the stone. 


painted stones used as paperweight 
These decorated stones can be used as paperweights , fridge magnets by attaching magnets to the stones, to decorate your garden etc. We can paint inspirational quotes on the stones and gift it to someone. So start making your own personal collection of stone creations !! 

Have a nice day!!
Happy crafting !!

Tuesday, November 5, 2013

3D FLOWER GREETING CARD

Welcome back friends !! I wanted to make a different greeting card for my husband's birthday. I have already done quilled greeting cards so wanted to try something new so that  it will be a complete surprise.When i searched for ideas i came across this 3D quilled flower bouquet. The card came out very well and i felt very happy after doing it. 


MATERIALS NEEDED :
  1. A4 sheet ( coloured  paper can be used )
  2. Quilling tool
  3. Quilling paper
  4. paints 
  5. glue 
PROCEDURE :

Step 1 : Cut 1/2 inch strips of paper. 


Step 2 : Colour each strip with different colour. 


Step 3 : Cut small slits in all the strips of paper except green colour.


Step 4 : Take the quilling paper of contrast colour and quill a tight coil to make the center  of the flower.


Step 5 : Attach the end of the strip to the quilled coil and start rolling the strip around the coil.


Step 6 : Open up the petals to get a flower.


Step 7 : Repeat the same steps for all coloured strips. Now for the leaves take the green strip and quill it as a loose coil. 


Step 8 : Arrange the flowers and leaves as a bouquet and decorate it of your choice. I folded regtangular piece of paper as a vase and added sattin ribbon to it.  


You can give this as a greeting card or frame and hang in the wall . You can learn the basics of quilling  from this video 

Have a nice day !!!

Happy crafting !!!


THULASI MAADAM PEN STAND

Welcome back to my world of crafting !! Today i am going to show you how to make a different pen stand as well as craft piece. Lets get started with this interesting craft.


MATERIALS NEEDED :

  1. Rectangular cardboard box
  2. air dry clay ( like shilpkar )
  3. acrylic paint
  4. glue 
  5. varnish 
PROCEDURE : 

Step 1 : Cut the top portion of the cardboard to get the shape of the thulasi maadam. ( as shown in below figure)


Step 2 : Cut a small regtangular piece of cardboard and attach it to the bottom of the box.
Step 3 : Cover the  entire cardboard surface with clay.  Roll cylindrical pieces of clay and attach it to the top and bottom portion like a beading to the thulasi maadam. 


Step 4 : Allow it to dry completely and then paint using wood brown or maroon acrylic colour. After the paint dries apply a coat of varnish to get the wooden finish. 


This thulasi maadam stand can be used as a pencil holder , show piece as well as flower vase. So a simple , ethnic and different pen holder is ready to decorate your desk.

Have a nice day!!!

Happy crafting!!!


Monday, November 4, 2013

FOAM SHEET EARRINGS HOLDER

Welcome to my world of crafting!! I always wanted to organize my earrings so they are easy to display and pick. When i googled i came across a video of DIY earring holder made with cloth and cardboard. I modified that idea a little bit and made this foam sheet earring holder. 

MATERIALS NEEDED:
  1. Foam sheet ( A4 size)
  2. cardboard sheet ( A4 size)
  3. white paper
  4. glue 
PROCEDURE:

Step 1 : Cut the cardboard to A4 size. 

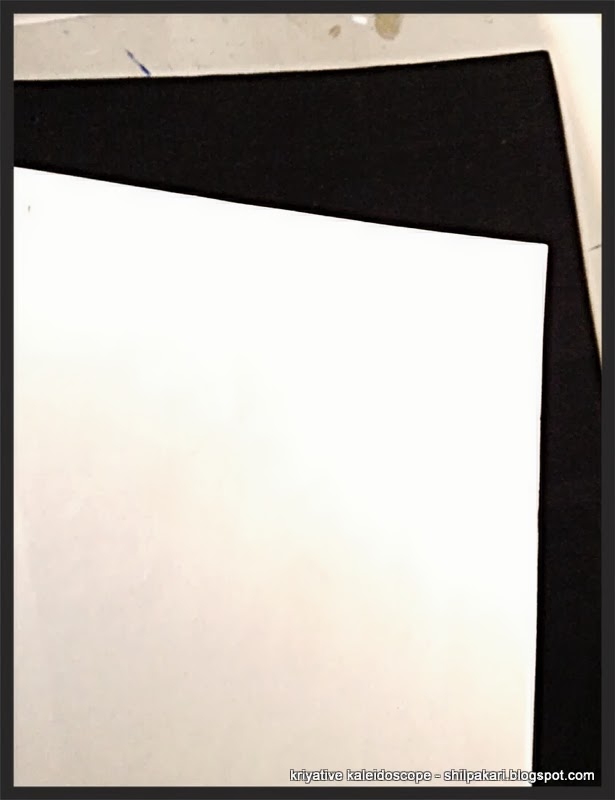
foam sheet , cardboard and A4 paper 

Step 2 : Paste the foam sheet onto the cardboard. A thicker sheet will be easier to punch holes.

Step 3 : Paste the A4 sheet on top the foam sheet  and start hanging the earrings


You can also hang this earring  holder on the wall or on your wardrobe . So now its easy to select , store , organize and display earrings .


Have a nice day!! Happy crafting!!!!!


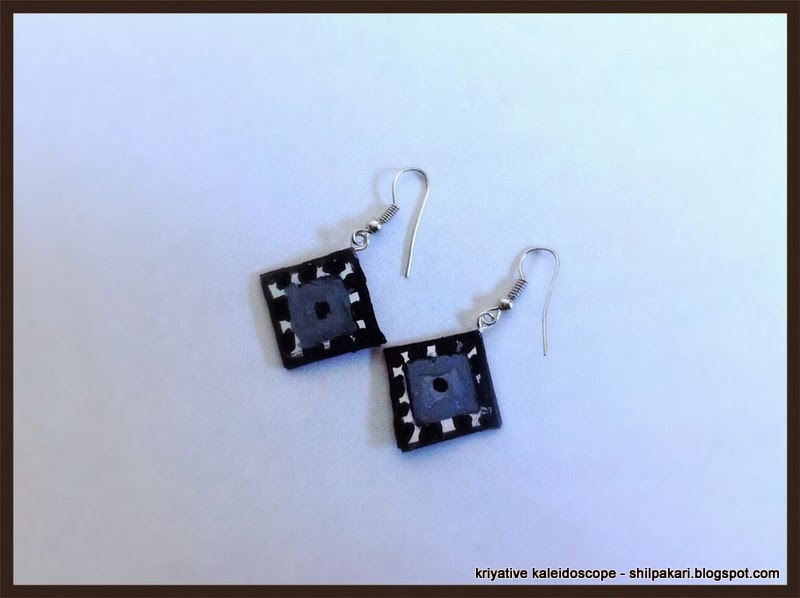
CARDBOARD EARRINGS

Welcome to my world of crafting !! I love to make earrings with different types of materials that can be found in and around the house . What about the idea of recycling the waste cardboard boxes by turning them into beautiful earrings ? Cardboard earrings are not only very easy to make but because of its light weight its comfortable to wear. So lets get started !!


MATERIALS NEEDED:


  1. cardboard pieces ( can be cut from any waste box like soap box )
  2. scissors
  3. scale
  4. pencil or pen for drawing
  5. eye pin and earring hook
  6. glue
  7. paints 
  8. varnish for glossy finish
 PROCEDURE: 

Step 1 : Draw the desired shape in the cardboard and cut into 4 identical pieces. 


Step 2 : Glue ( use tacky glue )  2 pieces together with an eye pin sandwiched between the two cardboard pieces. 


Step 3 :  Allow it to dry for sometime and then paint using colours that match your dress . Then add the earring hook to the eye pin. 


Step 4 : Finally give a coating of varnish to get the shining effect. 
Simple and cute cardboard earrings are ready to be worn!!

Have a nice day!! Happy crafting!!!!!


Thursday, October 31, 2013

MY PAINTINGS

Below are some of my paintings done with acrylics on canvas paper


Quiet pond 

Autumn trees
Rajasthani painting of a bride in pallakku
Rajasthani painting of elephant carrying king 

ABOUT

 "Kriya-tive Kaleidoscope" blog is dedicated towards providing you with Painting and Crafts Tutorials, helping you to think creatively while simultaneously making you enjoy the process of arts and crafts!

The word Kaleidoscope also means "An observer of different forms". Then what is kaleidoscopic mind? It refers to the type of mind which is innovative, balanced, cheerful, confident and being able to perceive everything from a multitude of perspectives which rigid minds tend to miss. 'Kriya shakthi' in Sanskrit means "The Power of Creativity". Increasing our ability to think creatively is the first step towards developing such a kaleidoscopic mindset. This blog attempts to develop your kaleidoscopic thinking ability through Crafts and Paintings.

Arts and Crafts is a hobby which will create long lasting memories, will make you feel relaxed. Hopefully some of the ideas in this blog will inspire you to begin crafting.

There is a famous saying by Henry David Thorean: "This world is but a canvas to our imagination". I hope this blog is a canvas to showcase my imagination. 

                                                    HAPPY CRAFTING!!!!