Thursday, June 19, 2014

NECKLACE AND EARRING DISPLAY TUTORIAL

Hi all, as mentioned in my previous post am presenting the tutorial of making necklace and earring display using cardboard. I always wanted to display my handmade jewellery using a necklace stand similar to that of the jewellery shops. I feel the stand enhances the look of the set . So when I googled upon to shop for such a stand I found a tutorial on DIY necklace display. I modified it a little bit and made my own version. It came out very well that I wanted to make a display for my earrings too. Here is a step by step tutorial on making jewellery display by recycling waste cardboard.


MATERIALS NEEDED:
  1. Cardboard ( Cereal box , packaging materials can be used)
  2. Pen knife or bone folder for making crease
  3. Pencil
  4. Inch tape or scale
  5. White paper
  6. Cello tape and glue
STEP BY STEP:


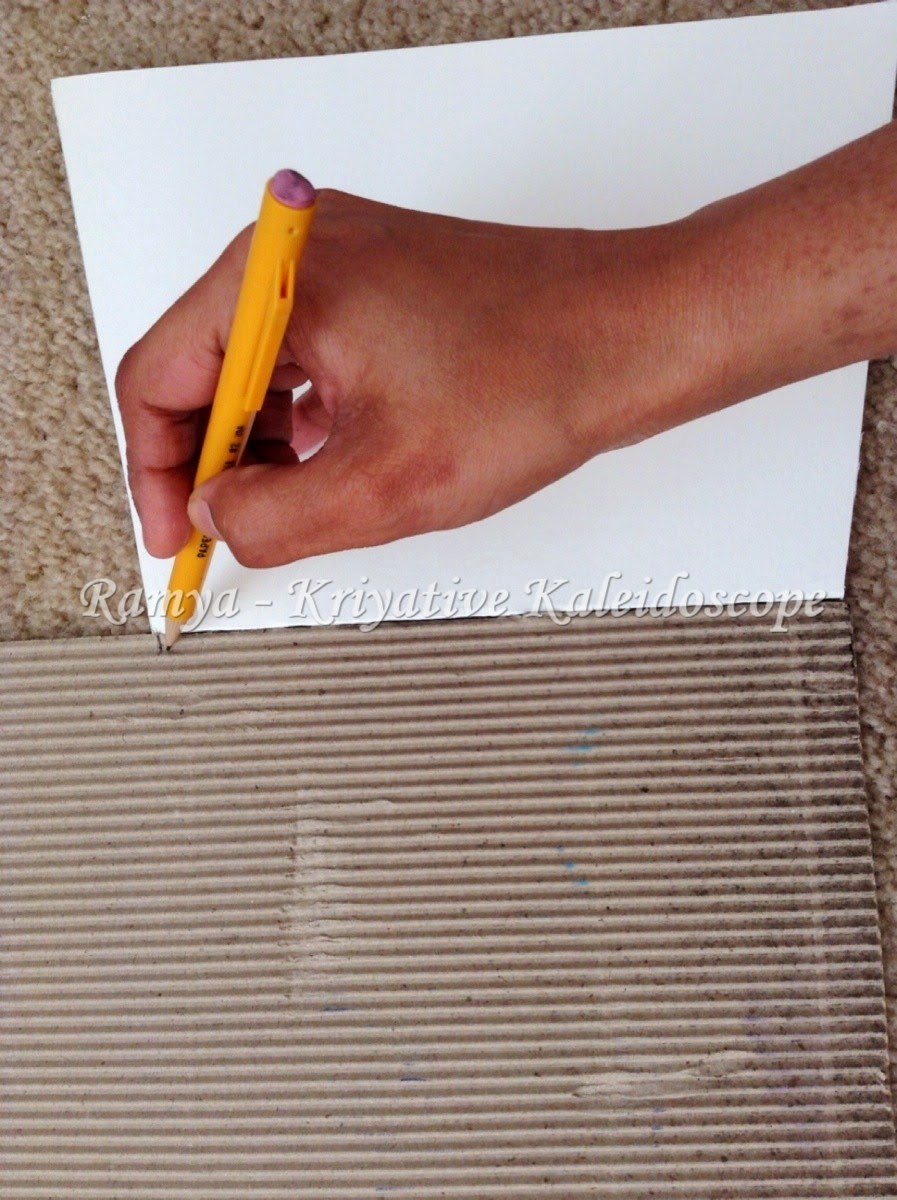
Take a cardboard of 24 cms wide and 20 cm long.


Mark the centre of the cardboard and draw a line. From the top mark 1 cm and 2 cm in the centre line. Mark 3cm to the left and right of 1cm point.

Draw an ellipse like this.

On both the edges of the cardboard mark 1.5 cm and draw a line joining the other corner.

Cut along the line drawn on both the edges. 

Mark I cm from the bottom of the ellipse and draw a line.

Mark 6 cm to the left and right of the line drawn.

Join the ellipse and the marked points like this.

Draw another line 0.5 cm below the previous line.

Draw a curve like this.

Mark 1 cm down on both edges of the curve.

From the bottom mark 2 cm up and draw a line. Mark 6 cm to the left and right of this line.


Using a pen-knife or bone folder  to crease along the red dotted lines.

After creasing along the dotted lines it looks like this.

Tape the flaps at the back like this. 


Cover it with a white sheet or black sheet. White display will suit dark colour jewellery and black display is suitable for light colour jewellery. 

EARRING DISPLAY:


Cut a piece of cardboard of size 14 cm by 8 cm.


Mark the centre point and draw a line. Mark 4 cm from the top and bottom.


Mark 2 cm to the left and right of the centre line drawn. 


Cut a small piece of cardboard to the above dimensions for giving support to the earring stand.


Paste the supporting cardboard as shown above using hot glue ( glue gun). 


I tried my level best to avoid any ambiguity while explaining the steps. Hope this tutorial is helpful to you all.


Friday, June 13, 2014

SIMPLE TERRACOTA JEWELLERY SET

Hello Friends, Today am posting a simple terracota jewellery set that can be worn with salwars and kurtis. This design is inspired from pinterest. I am happy in getting a good response for my previous terracota jewellery tutorial which encouraged me to do more of them.


In this design I have used cone shaped clay beads, round beads and flat disc shaped beads.  As I have already posted photos on making rounded beads in my previous post,  ( you can see the link at the end of this post) here am posting the making of cone shaped beads and flat beads. They are very easy to make but needs a little practice to get it perfect.


CONE SHAPED BEADS:


If the beads crack, add some water to make it smooth. 

DISC SHAPED BEADS:


Press the bead evenly on all sides using thumb and index finger to get the disc shape. 

PENDANT:


Flatten the clay using a pen and draw the design of your choice using a pen knife and cut it. Carve designs using microtip pencil . Attach eye pin at the top of the pendant. To make the bead hanging at the bottom of the pendant use two eye pins.


FINISHING THE NECKLACE:

While making the beads make sure that the bead goes into the rope else make the hole bigger using a toothpick. It is easier to adjust the hole when the clay is wet. Take a jewellery making rope and insert the pendant at the centre. On both sides of the pendant add the beads. At the end of the last bead make a knot .


Make a bead having a bigger hole such that rope of both sides can go through it(Orange bead ). This bead is for adjusting the length of the necklace. At the end of the rope make knots so that the adusting bead does'nt come out.


Make earrings similar to the pendant.


Colour the necklace and earring using metallic colours. Here I have used a mixture of antique gold and black as the main colour and orange as the contrast colour. The necklace and earring display are handmade by recycling cereal boxes. I will post of the tutorial of them in my next post.


Have a great weekend!! Happy Crafting!!


Wednesday, June 4, 2014

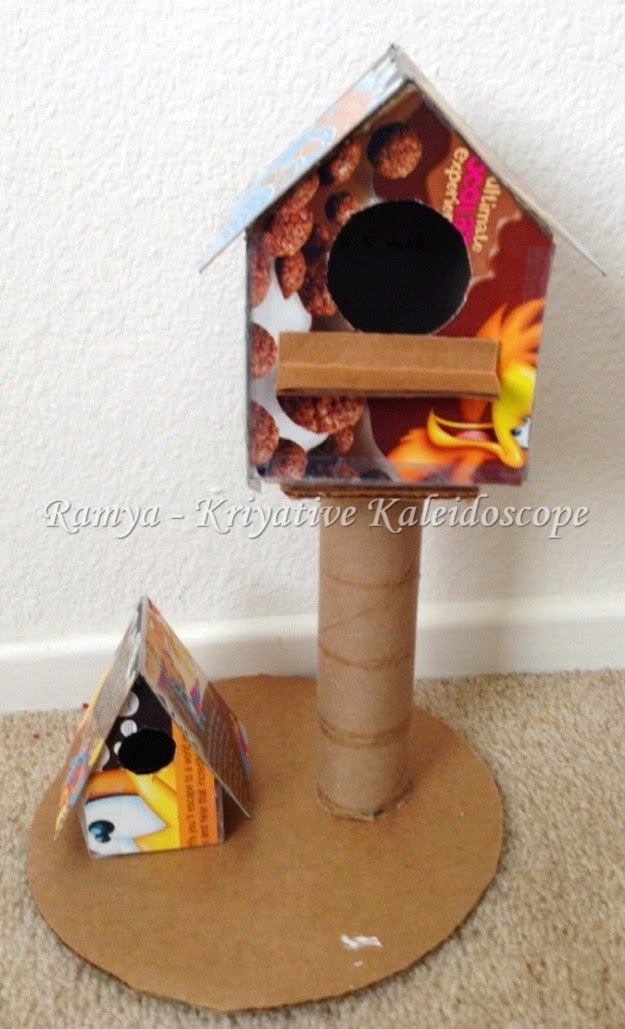
DIY RECYCLED BIRD HOUSE

Hello Friends , am happy to meet you all after a short vacation break. Today am posting a bird house made by recycling cardboard and tissue paper rolls. I was inspired by the bird house made by sunehra for itsy - bitsy challenge. I recycled cereal boxes, tissue rolls and packaging cardboards.


MATERIALS NEEDED:
  1. Cereal boxes
  2. packaging cardboards ( thick cardboard)
  3. tissue paper roll
  4. Glue gun
  5. cello tape and scissors
  6. decorating items of your choice - I have used pattern papers, silver lace, pearls. handmade flowers, crochet borders
  7. Paper clay for making bird
PROCEDURE:

I created this bird house based on the tutorial of Sa crafters cardboard bird house. Here are the measurements for the big house. 


Cut the cereal boxes according to the measurements given.


Assemble all the pieces using hot glue gun and cello tape. Glue gun is a must as the cardboard pieces glue to each other easily when the glue is hot. Make a hole in the front top using a craft knife.


Measurements for the smaller house:


Cut a bigger circle for the base of the birdhouse from a thick cardboard. 


Assemble the big and the small house to the base like this


Decorate this bird house of your choice. I made two small birds out of paper clay. I used paper clay as they are light weight and suitable for cardboard projects. Do not use heavy weight clay as cardboards cannot withstand that weight. 
Click here for clay bird making tutorial.


Here  I used pink and blue pattern papers for covering the bird house. I used thin strips of green cardstock for making the  grass. Stamped a sentiment " Hello chirp" at the top. Some close up shots:


click here for video tutorial of this bird house by Sa Crafters.


Hope you all liked my bird house!! Happy Crafting!!

Submitting to

Itsy - Bitsy Challenge - " Anything but a card"
Altered eclectics
Rhedd's creative spirit

Wednesday, May 14, 2014

CUTE SCRAPBOOK LAYOUT

Hi all, today am posting a layout created based on the sketch given  by  beyond grey challenges. I chose the title of my layout as " cute". Here are some pics. 


Here is the sketch given:


I started off by colouring the canvas sheet using distress ink. Then used  pieces of pattern paper to create layers. The image is printed from net. The title is handcut from black cardboard sheet.The flowers are handmade and the bottle caps are used for stamping. 


Happy Crafting!!

Beyond grey challenge - Sketch challenge

Saturday, May 10, 2014

HANDBAG GREETING CARD

Hello Friends, Hope you all are doing good!! Today am posting a card made for a special person - my mom. Yes its a mother's day card.  The Current theme of lulupu challenge is to make feminine cards. And since its eve of mother's day I wanted to make a different yet cute card carrying the theme of both. My mom loves different handbags so I thought why not make a handbag card for her.  I googled upon and found a simpler version of making handbag card and here are some pics.


I decided to stick with the monochromatic colour scheme for this card ( only white and violet). So used differen shades purple and violet for background and embellishments. 


Inside the card I wrote the quote using black marker and pasted a handmade daisy.


I decorated the card using border punches , flowers , butterflies and pearls. 


THE MAKING PICS:


Take a canvas paper or chart paper of required size of your bag. Fold it into half. Cut it into a shape of the handbag. Here I cut it into a trapezoidal shape. 


For making the flap of the bag it is better to use corrugated sheet. Since I din't have proper paints for covering the corrugated sheet I used a white sheet for the flap. Draw designs on the corrugated sheet and cut them. Cut the handle from a piece of cardboard and paste it at the back. 


Initially cut all the pieces, cover them with pattern paper and then glue everything together. 


Dedicating this card to my mother and mother- in - law. 

Happy mother's day to all the mothers!!

Submitting to

Itsy- Bitsy Challenge - " Monochromatic challenge" - I have used violet with white colour throughout the card.

Lulupu challenge - " Feminine cards"