Monday, November 11, 2013

THAMBOOLAM PLATE

Last month i saw the aarathi plate or puja thali in shops for some north indian festival. It was beautiful and neatly decorated. As i dont get thamboolam items ( betel leaf, coconut etc ) i decided to combine both the ideas and made this thamboolam plate for navarathri kolu.


MATERIALS NEEDED:

  1. Plastic plate  ( circular shape)
  2. clay
  3. paint
PROCEDURE:

Step 1 :

The plate can be the top lid of any box. I used the top lid of yoghurt box. 


Cover the top surface with clay.

Step 2 : For making kumkum and turmeric cones. 


Step 3: For making betel leaf


Step 4: For banana


Step 5 : For coconut make small oval shaped pieces in clay . Then using the backside of a pencil or brush make hole in one corner of oval. 


 Step 6: Arrange all these items in the plastic plate and glue them. Once it gets dried paint using acrylics or oil paint.

I decorated the plate by attaching small pieces of sattin ribbon . You can decorate it using kundan stones , rhinestones , golden ribbon etc. I will post a separate tutorial on making clay diyas. 

Wednesday, November 6, 2013

APPEARANCES ARE DECEPTIVE

Below are two incidents that illustrates the importance of this quote " Appearences are deceptive " 

       In 1911 Vietnam was colonized by the French Army. Vietnamese resented the french, sometimes through riots. A teacher's family was suspected for orchestrating one of those riots against the French  . So all the members of the family were captured by the army to be killed . Since there was not enough space in the vehicle, they left behind a small child. Since that small child was lean and puny, the french thought he will die by himself in the coming days. They ridiculed his appearance and took his other family members with them. Never would the french have imagined that the little boy they left behind would be their tormentor in future. The boy grew up and defeated the French army in vietnam war. He rose as a hero by making Americans run away from Vietnamese soil. He was a key figure in the foundation of the Democratic Republic of Vietnam in 1945. He also served as prime minister and president of Vietnam. His name is Ho Chi Minh. To honour him the capital of south Vietnam called Saigon is renamed as Ho Chi Minh city. 

Ho Chi Minh 
Another incident that happened recently also emphasizes the above quote. Nina Davuluri won the miss America 2013 title last month. Today she is America's most beautiful woman but before five years she used to be very fat that she disliked herself for her appearance. Right from her childhood she had the habit of overeating which led to the bulimia disease. In addition she suffered from asthma trouble. Even at this stage she dreamt of becoming Miss America one day. When there are positive thoughts in the mind the way to success will be clear. She met a fitness trainer called Tiya felcon who herself has suffered from obesity but due to strict diet and exercise became slim. So Tiya wanted to help people with similar problems and give them confidence. She guided Nina and helped her to reduce weight. Due to her hard work and consistent effort Nina Davuluri was crownedMiss America. The inspiring  message she said to everyone " everybody in this world  is beautiful but you have to believe that you are.''


From these two incidents we understand that " Never judge any person by their appearance." If we have confidence and belief success is ours." 


STONE PAINTING

hello everyone Three months back when i had been to goldbluffs beach in redwood i found these smooth oval shaped stones. I collected a few of them and painted  upon it. So now whenever i go to a beach or river i do this interesting work of collecting the perfect rounded stone for  doing stone painting .

MATERIALS NEEDED :

  1. Smooth stones 
  2. acrylic or oil paints ( bright colours)
  3. varnish or gloss 
PROCEDURE :

Wash the stones so that the paint will adhere better. Then apply a base coat ( any colour of your choice) . Once it gets dried apply the second coat. Now start drawing the actual picture using thin brush.  After the painting dries apply a coat of gloss to the stone. 


painted stones used as paperweight 
These decorated stones can be used as paperweights , fridge magnets by attaching magnets to the stones, to decorate your garden etc. We can paint inspirational quotes on the stones and gift it to someone. So start making your own personal collection of stone creations !! 

Have a nice day!!
Happy crafting !!

Tuesday, November 5, 2013

3D FLOWER GREETING CARD

Welcome back friends !! I wanted to make a different greeting card for my husband's birthday. I have already done quilled greeting cards so wanted to try something new so that  it will be a complete surprise.When i searched for ideas i came across this 3D quilled flower bouquet. The card came out very well and i felt very happy after doing it. 


MATERIALS NEEDED :
  1. A4 sheet ( coloured  paper can be used )
  2. Quilling tool
  3. Quilling paper
  4. paints 
  5. glue 
PROCEDURE :

Step 1 : Cut 1/2 inch strips of paper. 


Step 2 : Colour each strip with different colour. 


Step 3 : Cut small slits in all the strips of paper except green colour.


Step 4 : Take the quilling paper of contrast colour and quill a tight coil to make the center  of the flower.


Step 5 : Attach the end of the strip to the quilled coil and start rolling the strip around the coil.


Step 6 : Open up the petals to get a flower.


Step 7 : Repeat the same steps for all coloured strips. Now for the leaves take the green strip and quill it as a loose coil. 


Step 8 : Arrange the flowers and leaves as a bouquet and decorate it of your choice. I folded regtangular piece of paper as a vase and added sattin ribbon to it.  


You can give this as a greeting card or frame and hang in the wall . You can learn the basics of quilling  from this video 

Have a nice day !!!

Happy crafting !!!


THULASI MAADAM PEN STAND

Welcome back to my world of crafting !! Today i am going to show you how to make a different pen stand as well as craft piece. Lets get started with this interesting craft.


MATERIALS NEEDED :

  1. Rectangular cardboard box
  2. air dry clay ( like shilpkar )
  3. acrylic paint
  4. glue 
  5. varnish 
PROCEDURE : 

Step 1 : Cut the top portion of the cardboard to get the shape of the thulasi maadam. ( as shown in below figure)


Step 2 : Cut a small regtangular piece of cardboard and attach it to the bottom of the box.
Step 3 : Cover the  entire cardboard surface with clay.  Roll cylindrical pieces of clay and attach it to the top and bottom portion like a beading to the thulasi maadam. 


Step 4 : Allow it to dry completely and then paint using wood brown or maroon acrylic colour. After the paint dries apply a coat of varnish to get the wooden finish. 


This thulasi maadam stand can be used as a pencil holder , show piece as well as flower vase. So a simple , ethnic and different pen holder is ready to decorate your desk.

Have a nice day!!!

Happy crafting!!!


Monday, November 4, 2013

FOAM SHEET EARRINGS HOLDER

Welcome to my world of crafting!! I always wanted to organize my earrings so they are easy to display and pick. When i googled i came across a video of DIY earring holder made with cloth and cardboard. I modified that idea a little bit and made this foam sheet earring holder. 

MATERIALS NEEDED:
  1. Foam sheet ( A4 size)
  2. cardboard sheet ( A4 size)
  3. white paper
  4. glue 
PROCEDURE:

Step 1 : Cut the cardboard to A4 size. 

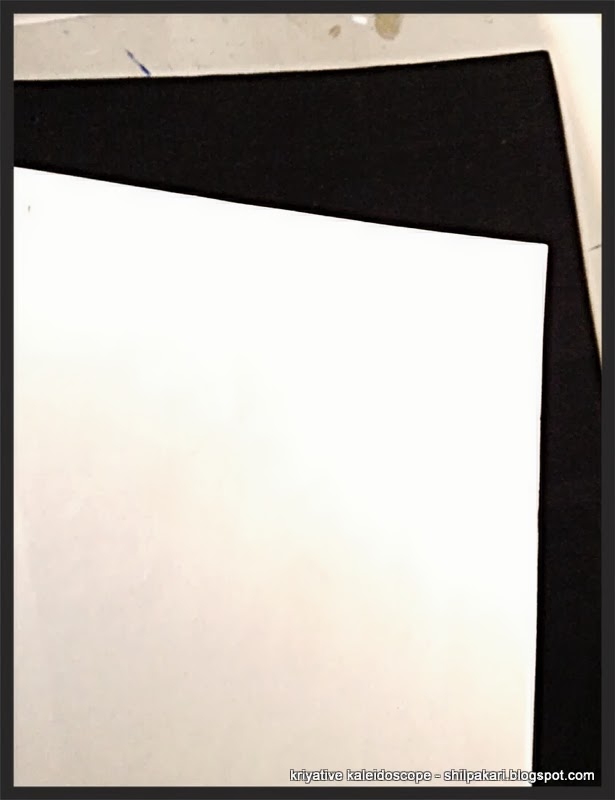
foam sheet , cardboard and A4 paper 

Step 2 : Paste the foam sheet onto the cardboard. A thicker sheet will be easier to punch holes.

Step 3 : Paste the A4 sheet on top the foam sheet  and start hanging the earrings


You can also hang this earring  holder on the wall or on your wardrobe . So now its easy to select , store , organize and display earrings .


Have a nice day!! Happy crafting!!!!!


CARDBOARD EARRINGS

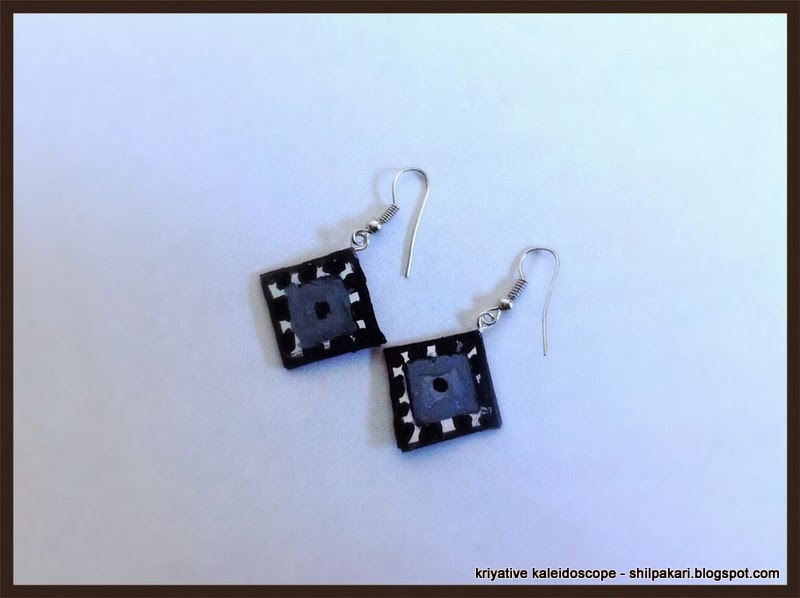
Welcome to my world of crafting !! I love to make earrings with different types of materials that can be found in and around the house . What about the idea of recycling the waste cardboard boxes by turning them into beautiful earrings ? Cardboard earrings are not only very easy to make but because of its light weight its comfortable to wear. So lets get started !!


MATERIALS NEEDED:


  1. cardboard pieces ( can be cut from any waste box like soap box )
  2. scissors
  3. scale
  4. pencil or pen for drawing
  5. eye pin and earring hook
  6. glue
  7. paints 
  8. varnish for glossy finish
 PROCEDURE: 

Step 1 : Draw the desired shape in the cardboard and cut into 4 identical pieces. 


Step 2 : Glue ( use tacky glue )  2 pieces together with an eye pin sandwiched between the two cardboard pieces. 


Step 3 :  Allow it to dry for sometime and then paint using colours that match your dress . Then add the earring hook to the eye pin. 


Step 4 : Finally give a coating of varnish to get the shining effect. 
Simple and cute cardboard earrings are ready to be worn!!

Have a nice day!! Happy crafting!!!!!