Thursday, March 27, 2014

MIXED MEDIA SPRING LAYOUT

Hello Crafty pals, I am very excited to publish my 50th post today. I thank all my fellow bloggers who have encouraged me by giving their genuine comments and inspired me to create beautiful craft projects. Today am posting another mixed media layout made on the theme "Spring. " 


I started off with Artist's loft canvas board ( not canvas) and covered it with crushed pieces of white tissue paper. Since i did'nt have gesso , I mixed white acrylics and craftsmart glue and used as a primer. The result was good ( though you won't get the finish similar to gesso). 


Once it is dried I used alcohol inks of various colours to make the background.


The clouds, tree branch , tag and butterflies are handcut from cardboard and painted using acrylics.


The bird is made out of clay and coloured using acrylics. 


The daisy flowers are handmade . Finally applied a coat of varnish to get the glossy look. 


By seeing the blooming trees , singing birds and creeping sunshine one gets the feeling of hope. So pasted the sentiment " Spring Bring Hope". 


Submitting to

Lulupu Challenge - Created a layout - I used the letters - L for layout , leaves  P for pink, paints C for canvas. clay, clouds T for tag
4 Crafty chicks - "Spring" - Created a spring layout
Altered eclectics - Altered a canvas board into a layout
Sentimental sundays - " Flowery spring time"
Paper Creator's crafts - " spring is in the air"


Saturday, March 22, 2014

MIXED MEDIA CEREAL BOX LAYOUT

Hi all , Today am posting mixed media layout created from a cereal box. This week fully went in experimenting new projects in crafts like peruvian thread earrings and mixed media art. After seeing the mixed media art works of Shilpa Nagaonkar and Gabrrielle Pollaco I too wanted to try my hands in that. So Altered a cereal box and created a layout named " Beauty". 


THE MAKING PICTURES:


I covered the cereal box with white paper and pasted a small piece of old pattern paper . Then i cut out a template of a dress from cardboard.


Painted the other half of the box using watercolours and drew some doodles with markers. The design at right corner is done by using pearl paint and glitters.

Pasted scraps of paper from advertisement sheets. Using a thick wire i made the hanger and the dress is made from white pattern paper distressed with red and violet colours.


Sprayed some violet + blue paint  and added butterflies and crochet borders.


The design of this mixed media art was inspired from Gabrielle 's Vintage mixed media canvas tutorial.

Submitting to
Colour conceptions challenge - " Glam with glitter challenge" - I have used glitter for dress borders, butterfly design, right hand top design...
Beyond Grey challenges - "Vintage/Shabby and dinnerware" - I altered a cereal box and created a shabby chic mixed media layout.
Country view challenge - " Paper chase" - My project contains everything made of paper...
Altered eclectics - I altered a cereal box and created a shabby chic mixed media layout.
Rhedd's creative spirit


Friday, March 21, 2014

PERUVIAN THREAD EARRINGS

Hello friends, Hope you all are doing great!! Today am posting a pair of earrings made for earrings everyday challenge. 


These are the string art earrings from Peru. This style string earrings originated in the 1960s in Peru and today these styles are famous with celebrities. Though these earrings seems to be complicated , with practice one can make creative and many types of earrings.  


For making these earrings we need a thick gauge wire for the outer loop and a thin floral wire to make the coil. Generally coiling Gizmos are used to make coils. We can also make homemade coiling gizmo. I made my own coiling gizmo using a thick camp ( Kambi). 
For the tutorial of making your own coiling gizmo check out this video   

Single strand of embroidery thread is used for winding . To learn about the earring making check out videos by artist ikologee - Peruvian thread earring tutorial

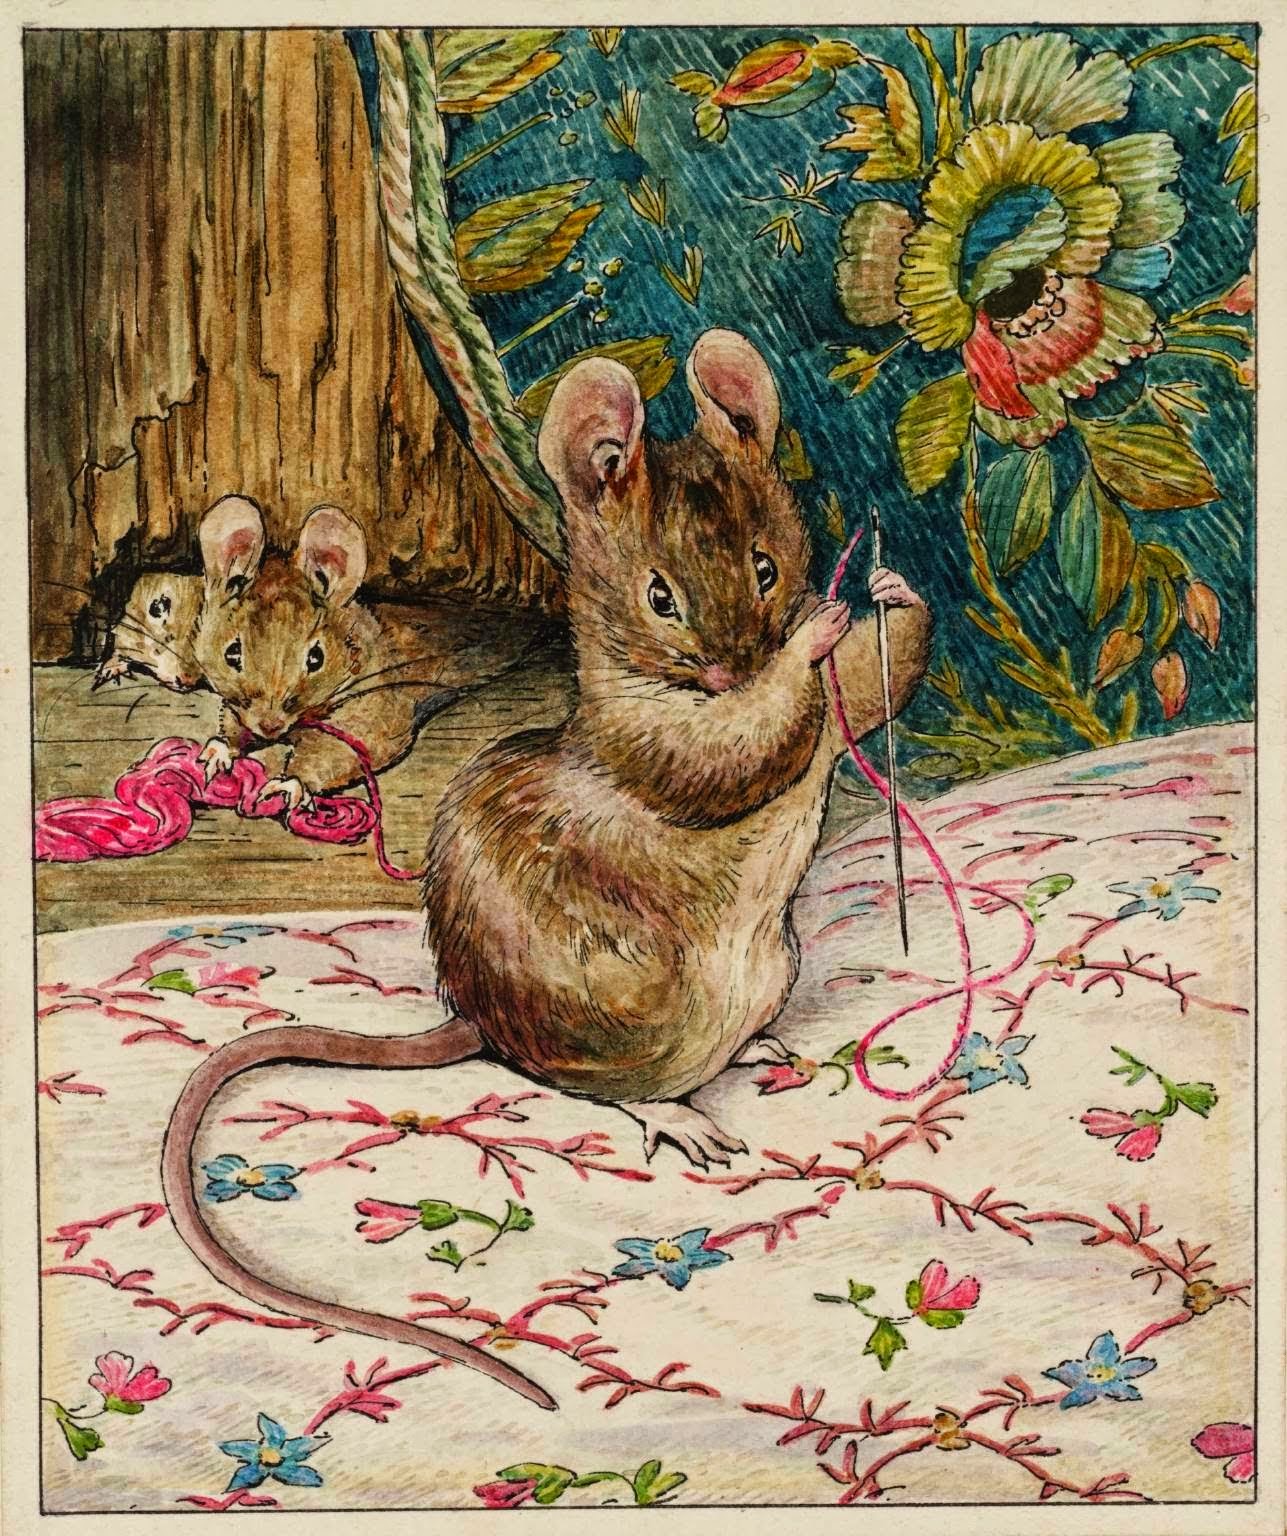
Everyday earrings inspiration picture


After seeing the picture I wanted to create an earring involving thread work. I always love the peacock feather colours. As these colours are present on the pic ( behind the mouse) I used dark blue, yellow and peacock green woolen threads. Initially I could'nt get the coils properly. The look of the earring depends on the how closely the coil is wounded. I found the winding of coils to be the difficult part. After few trials got this result. Have to practice more to create more perfect and beautiful earrings. 


Your Suggestions and feedback are welcome!! Have a crafty weekend!! 

Submitting to 

Thursday, March 13, 2014

DOUBLE SIDED STEP CARD

Hello friends, Today am posting the tutorial of  making a double sided step card. This is my first attempt to make a 3D card or folding card. For tutorial I used a A4 sheet but using cardstock makes your card stand firm. . I found the tutorial of this simple and easy card in the blog glimmercraft.com by Sabrina. (Picture heavy post)

"

PROCEDURE:

Step 1: Making the Cuts


Cut the Cardstock of 7" by 10".
On the 7" side mark 4 .75" and draw a line .


From the top mark 1" and 8.5" respectively on the line drawn. Cut along the line from 1" to 8.5" using a knife and ruler.


After cutting it looks like this.


Again from the 7" side ( where we marked 4.75" ) mark 2.25" and draw a line. Similarly mark 1" and 8.5" on this line too and cut from 1" to 8.5".

Step 2 : Marking the crease


Now turn the Cardstock horizontally and between the lines score out ( crease) at  1" .


Similarly Crease between the lines at measurements 2" and 3.5". At 5" score from top to bottom. The dotted lines in the picture shows the lines to be scored. 
Then again at 7.5" and 8.5" score between the lines.


Step 3 : Making folds
For this card we use two folds - mountain fold and valley fold. At 1" score  make a mountain fold.


At 2" score make a valley fold , at 3.5" mountain fold. 
At 5" between the lines valley fold and at top and bottom mountain fold. At 7.5" make a mountain fold.  Do not fold at 8.5". 
Alternate mountain and valley folds will result in a zig zag folds . 

After folding you will get something like this


Template of a double sided step card
                                                      

MOUNTAIN FOLD ( inverted v fold)


VALLEY FOLD ( v fold) 


 I used black cardstock and pink pattern paper from recollections. Used a cute digital image of a girl with roses and stuck some embellishments.  Painted a sentiment with my liner brush.


Hope the tutorial is clear. Happy crafting !!!

Submitting to

Create something catchy challenges  - Picture inspiration - I used black and pink combination inspired by the picture.
Hobby Cutz challenge - "Celebration "
Dream valley challenges - " Big birthdays"
Through the craft room door challenge - " Anything goes"
Mycraft creations challenge - " Anything goes"


Saturday, March 8, 2014

CLAY ROSE JEWELLERY SET

Hi all , Today am posting a clay rose necklace, earring and bracelet set.


The dark blue beads and roses are handmade using  air dry clay and paints.

CHAIN


EARRING:


BRACELET:


COMPLETE SET:


Happy Crafting!!!

Submitting to
itsy- bitsy challenge - " Say it with roses"
Lulupu Challenge " Use any three of the letters L,U,T,P,C " - I used
C  for clay , Chain
P for paints , Pearls
T for teal colour rose , thread ( jewellery making thread)