Thursday, January 30, 2014

ART JOURNAL USING SCRAPS

Hello Friends , Welcome back !! In this post i have  attempted to create an art journal page using the left out scrap pieces. This work is inspired by Shilpa Nagoankar's art journals.  The theme of lulupu challenge this month is 'Scrap your Scraps'. I generally used to keep a big paper bag near my work area to throw out the craft wastes. After seeing this theme I decided to use the scraps from this bag. Except the silver lace at the bottom everything else is taken from the scraps.


I categorized my scraps into two categories 1. papers and card stocks 2. foam sheet bits and layouts. For the base of the journal i used the first category scraps and for decorating, embellishments and stamping i used the second category of scraps. I decided to make the journal in the theme ' DREAM'.

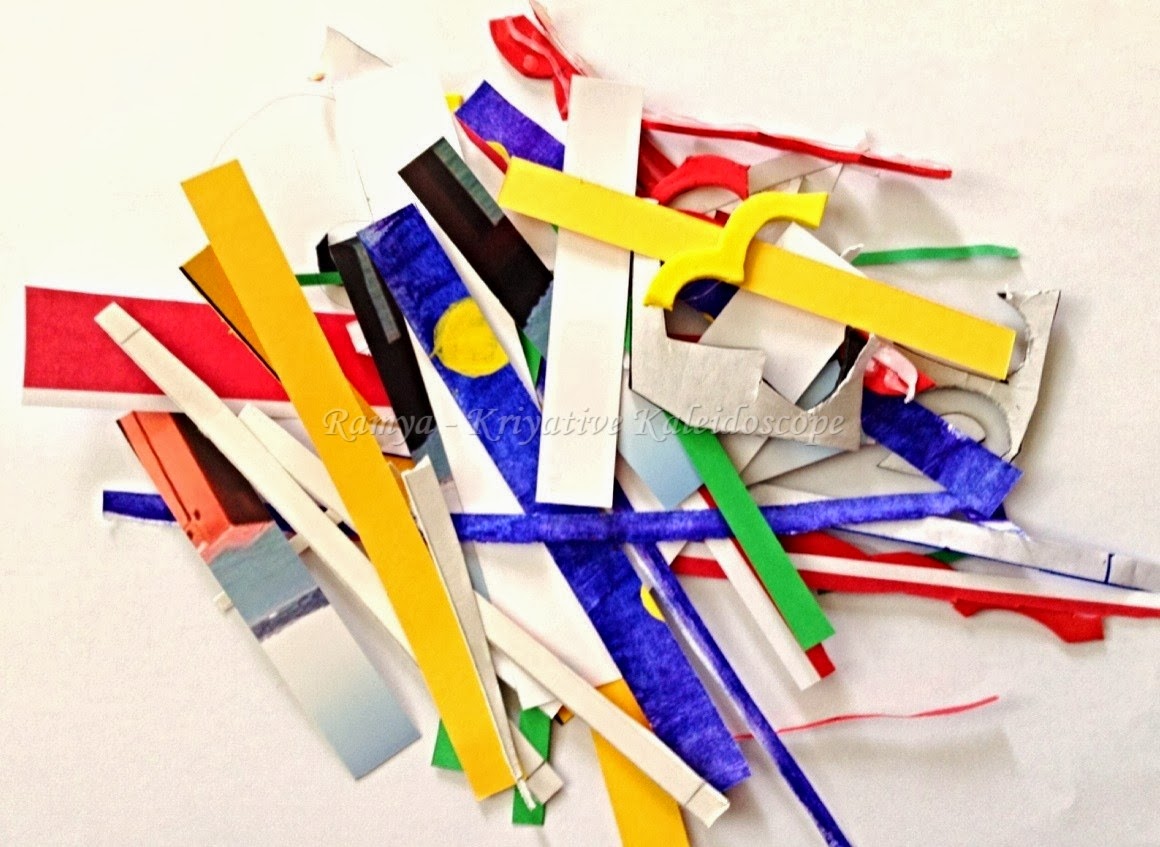
category 1: Paper scraps
category 2 : Foam sheet and layout scrap pieces
                                                       
Initially i cut all the papers/cardstock/cardboard into small pieces. Took out a diary and pasted a white sheet in the center of diary paper.


I then pasted the scraps one by one. Thus the base layer is ready.


Then using distress inks i covered the page with bluish green & red colours. Since all the paper scraps are of bright colours i had to use dark shades to cover all scrap pieces.

I used the foam sheet scraps as stamps for my journal. I dint cut the foam pieces into specific shapes. I just used them as they are.

Stamps from foam sheet scraps
                                                            

After stamping
                                                                       
 I used a picture of a girl  who is dreaming while travelling .Since the theme is about dreams i stuck a kite and a cloud shaped tag. With the bigger scrap of paper i handcut the word dream. I reused my grocery lists as dream list. The flowers are made from a magazine cover.


                                          Envelope used to make flowers                                                     


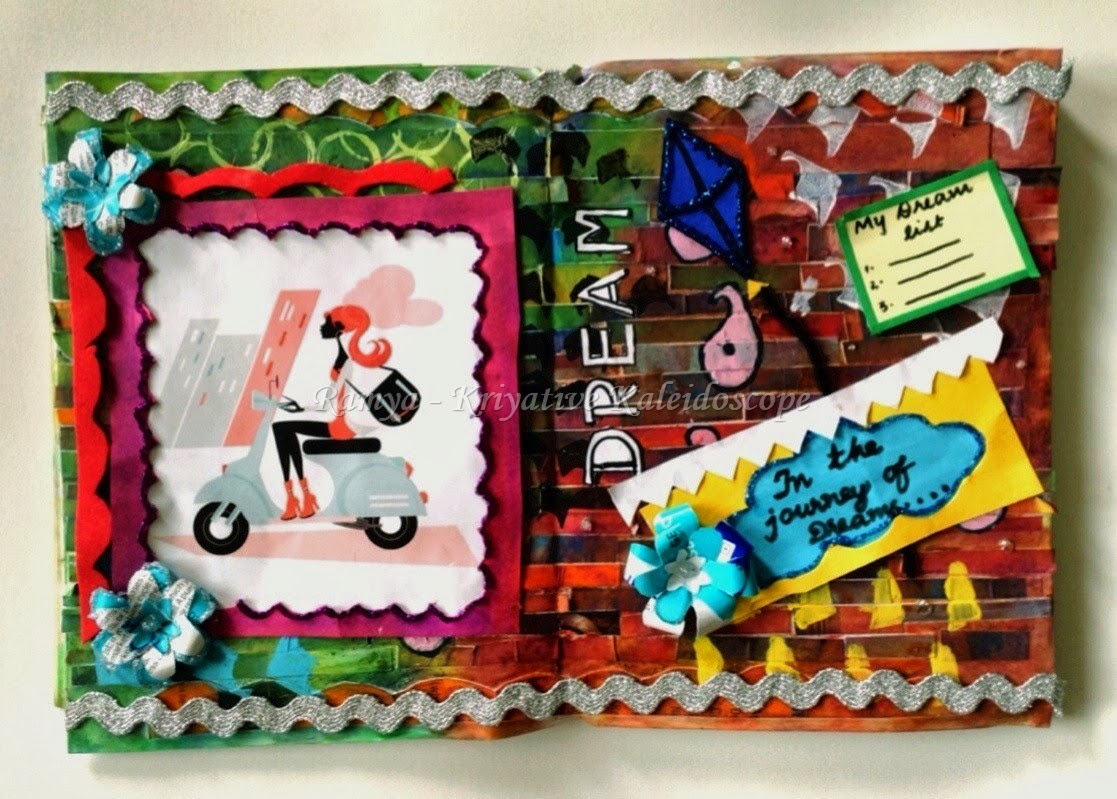
Thus my art journal created using only scraps is ready.  With whatever materials i have got, i created this journal . Now I am learning about the various techniques and materials involved to create a journal so will post a better one in the future.

Happy Crafting!!!

Submitting to
Lulupu challenge  - " Scrap your scraps" - Created a layout
Altered eclectics - Altered scraps into art journal
Challenges for everybody
Rhedd's Creative spirit - Altered scraps into art journal


Wednesday, January 29, 2014

"PURPLE" THEME CARD

Hello Friends , Today am posting a card made for casology challenge. The theme of this week challenge is 'purple'. When i saw the theme, the first thing that came to my mind was a bunch of grapes. So made a bunch of grapes card using violet and green cardstock.


I had cut 13 oval pieces from violet cardstock and arranged them as a bunch. I folded the edges to get a 3D look of the grapes after seeing Katrina Simeck's Funny Friendship cards. I added leaves and stem using green and brown cardstock respectively. 


Happy Crafting !!

Submitting to

Casology challenge

Friday, January 24, 2014

HAND DECORATED GIFT BAG WITH A CUTE ENVELOPE

Hello Friends , today am posting a tutorial on decorating a paper bag . Two months ago when i went for shopping i got a lovely paper bag. I thought it would be useful someday and saved it in my wardrobe. Now when i saw the theme of many challenges being decorated gift bag , I decided to recycle that paper bag into a gift bag.


Only the pattern paper is bought from the shop rest all embellishments are handmade. The Decorations were inspired from Andrea Walford's gift bag.


This is the paper bag that am going to recycle. You can use any paper bags or you can make your own bag. For tutorial on making a paper bag link 1 , link 2 . 


I covered the bag using a pattern paper. I used cellotape and fevikwik to get a neat finish.


Now lets make all the decorations separately and assemble in the bag finally. Take a thick sheet of  white paper ( chart paper or canvas paper) and apply light blue colour on the edges. Since i bought distress ink pad last week i wanted to use them for everything.


Then i just sprayed some light blue dots on the paper. This I did by loading the old toothbrush with watercolour paint and plucking the bristles to get the spraying effect. Thus the base for decoration is ready.


TO MAKE AN ENVELOPE:


TO MAKE FLOWERS: 


As i was googling on the tutorial of making paper flowers i came across this easy and beautiful paper flowers. Am happy to share it with you all.


TO MAKE BUTTERFLY: 


I drew the design using black marker pens on the butterfly.

TO MAKE THE BOW


Click here to know about the various methods of making bow. I made a simpler one.

TO MAKE THE BORDER:


I crocheted the borders as i found them costly in the shops.  The black thick border at the bottom is a double crochet stitch using ' I' hook . The side white borders are simple chain stitch with g hook.


Finally, after assembling all the decorations the bag looks like this. The black colour paper at the back of the envelope is cut out from a magazine.


Then i made a tag using chart paper and my newbie distress ink. When i was thinking about the theme for making the tag , i remembered the lessology challenge theme " You hold the key to my heart" . 


This tag does'nt fit in the small envelope we have made. So what is in the envelope then??   A Heart lock with 5 keys !!!


Tomorrow is the 500th day after our marriage. So thought this will be a perfect gift to give my husband for making these 500 days memorable and enjoyable.


It was super fun making this project because of three reasons  1. Am gifting to someone so took extra effort to make it neat 2. I love working with blue colour as its my most fav colour  3. After a very long time i tried crocheting.

Hope you too will have fun and enjoy doing this craft.

Happy Crafting !!!

Submitting this project to

Shopping our stash challenges " Winter blues" - Projects with blue colour
lessology challenge - " You hold the key to my heart"
Citycrafter challenges - " the key to my heart"
itsy- bitsy bingo challenge - Used distress ink pads, pattern papers, ribbons, stamps and markers
Colour conceptions challenge - 3B's - bags, baskets and boxes


Sunday, January 19, 2014

HANDMADE PHOTO FRAME / CALENDAR

Hello all , Today am posting a photo frame / calendar that is totally handmade.


Initially I took a  piece of cardboard  and pasted the red colour sheet upon it. Then I took another cardboard and stuck the pattern paper on it. I always a  pattern paper which has Indian designs on it. Since i dont get it in US i decided to make myself one.  I made two stamps by cutting the design from foam sheet and pasting it onto a cardboard. I stamped my designs on a pink and violet  paper.


Does't these looks like the design in our salwars and sarees??


This is my handmade stamps.


I added foam sheet borders and foam flowers ( Handcut).  Pasted a white cardstock in the center for pasting the photo.


I made a small calendar using card stock , black marker pen  and board pins.


Finally , after attaching the photo my handmade photo frame looked like this . ( pic below)


This craft can be hung in the wall and it will be a beautiful wall decor. It can also be personalized and given as a gift to someone.

Happy crafting!!!

submitting to
Through the craft room door challenge " Anything goes"
Parade your crafts challenge " Winter projects"
The squirrel and the fox challenge " Show off your new stuff" - My new Indian designed pattern paper and my handmade stanps.
Hobby cutz challenge - " lots of layers" - I  have used five layers in my project.
 Creative craft challenges - " New" - I made a photo frame with a calendar marking the beginning of new year. I also created Indian designs pattern paper using handmade stamps.
Itsy- bitsy bingo challenge - I used pattern paper, stamps, markers, free space and inkpad.